Updates
One feature of running your own server is that you are responsible for keeping it

Once you have flashed the image, you need to create the file that will give your pi its initial IP address - if you don't it will get a DHCP address, this is bad because it will likely change from time to time and you have to figure out what it is. Go to this page (or this alternative if you want) and fill in the details and create the configuration file. If you don't know your LAN's IP subnet, you can find out by clicking on the network link on your PC and it will tell you your IP address, the subnet mask and the default route/gateway. Below is the screenshot for Windows 10, Macs and linux PCs have similar options.

Usually the network is 192.168.x.0, the default gateway is 192.168.x.1 and the subnet mask is /24 (also displayed as 255.255.255.0). x is often 0,1 or 2 but it can be any number up to 255. The pi will need a static IP address and I tend to recommend ones up near the top of the subnet because routers tend to give out DHCP addresses at the lower end.
So, assuming your lan is 192.168.0.0 I recommend filling in the config as follows.
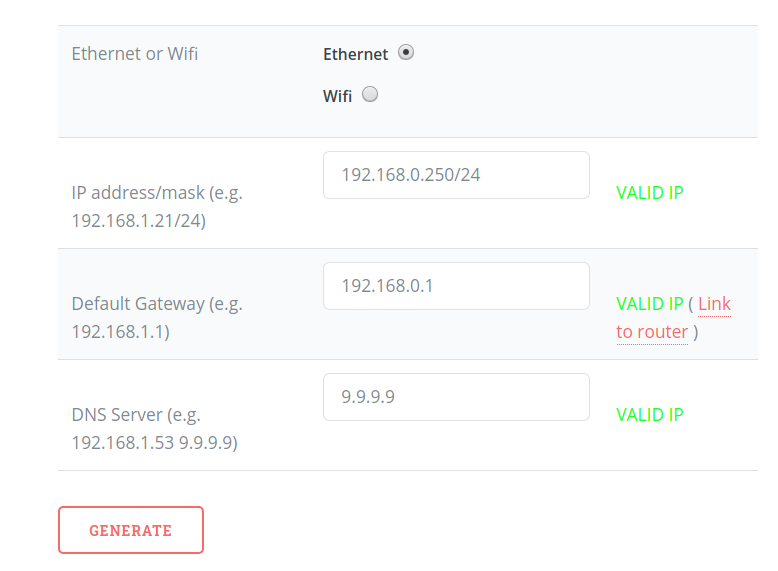
You'll see a link to the firewall/router appears when you add that address. You can click on it to confirm that you have the right address. At some point you'll need to log in to it and create the NAT rule to allow your pi to be seen on the internet, but for now just make sure it connects. I've made the DNS server 9.9.9.9 which is the quad9 public DNS server but you can set it to whatever you want that works (for obvious reasons I recommend not using the google ones - 8.8.8.8 and 8.8.4.4)
Then Click Generate. The configuration is validated and if it passes validation you'll see it appear below and be prompted to download it

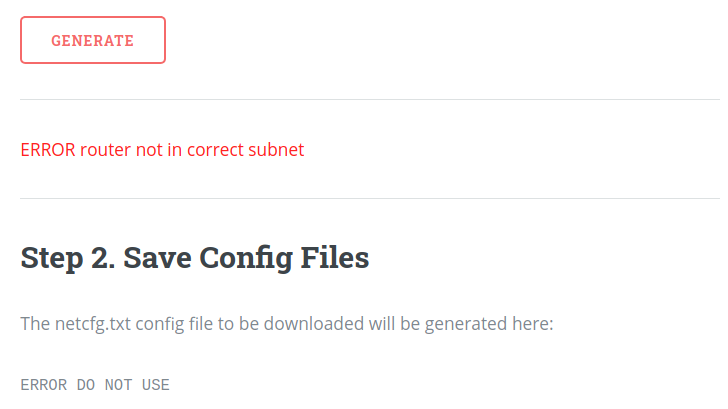
If you make a typo then the code will catch it if it makes the configuration inconsistent (e.g. typoing the gateway IP address will generate an error like this
When you click download you should save it to the SD card on the boot partition (that will be the first one - and the only one visible in Windows).

After you've saved the config file, you can eject the SD card and prepare the pi for use.