Updates
One feature of running your own server is that you are responsible for keeping it

You will need to have a browser tab logged into your domain registrar for this.
In a new tab go to https://dash.cloudflare.com/sign-up and enter your email and a password that you want to use (if your browser suggests one, probably pick that)

Then click on create account and add the domain you just bought in the next screen

Hit Add site, select the free plan on the next page and click continue

Your domain is then scanned for existing settings which will likely be the host parking setting from the place you registered the domain

Once done click continue again (because we can edit these later) and you get to the screen where you have the cloudflare DNS names

Go back to the domain registrar tab, find the bit where it says to setup the nameservers for your domain and paste in the two cloudflare server names. You may need to click on a link somewhere that says something like "Edit Nameservers" if there isn't an obvious form on the main page.
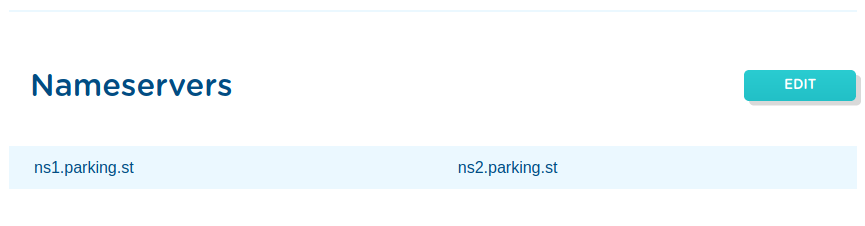
When you get there it will look something like this
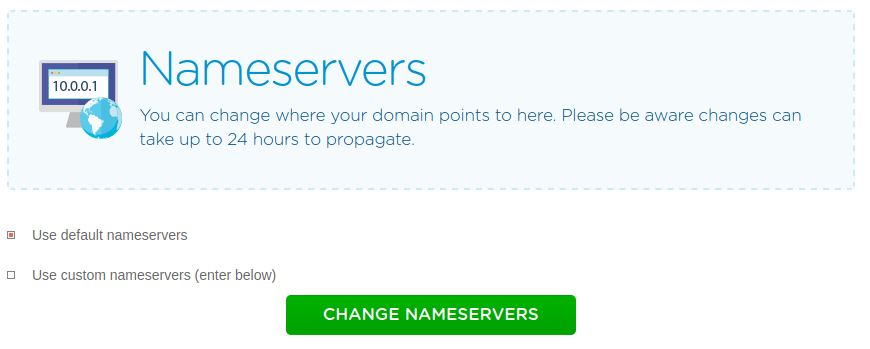
Select custom name servers and enter the names from the cloudflare tab (probably replacing the default ones). Then hit Change or Save.

Once you have made that change you can logout or close that tab because you won't need it any more
In the cloudflare tab there click "Done, check nameservers" and then work your way through the quick start guide.

You can accept the defaults and just let it do its thing. Once it is done keep the Cloudflare page open in your browser and go back to the SSH terminal to your pi.