Updates
One feature of running your own server is that you are responsible for keeping it


OK so you have your Pi running, hosting a blog, and you want to do more. What can you do?
One obvious and easy answer is to add a chat server and there's really only one sensible chat server to add, that is Rocket Chat. Rocket chat is available as a snap package that can be installed in a few minutes. Once you have it installed you can optimize things a bit to improve performance and so on but this is, for the most part, a 15 minute project.
The one caveat is that rocket chat allegedly really hammers your "disk" drive under load. I have not encountered this personally, but then I only installed rocket chat as a test and my chat server has never had mare than two or three people on it at once.
Installing up rocket chat requires that you first install snapd and then reboot.
server@micronetia:~ $ sudo apt install snapd
Building dependency tree
Reading state information... Done
The following additional packages will be installed:
  apparmor liblzo2-2 squashfs-tools
Suggested packages:
  apparmor-profiles-extra apparmor-utils zenity | kdialog
The following NEW packages will be installed:
  apparmor liblzo2-2 snapd squashfs-tools
0 upgraded, 4 newly installed, 0 to remove and 0 not upgraded.
Need to get 12.5 MB of archives.
...
server@micronetia:~ $ sudo reboot
Once the pi has rebooted and you can SSH back into it you can install the rocket chat snap
server@micronetia:~ $ sudo snap install rocketchat-server
2021-01-29T04:56:16Z INFO Waiting for restart...
rocketchat-server 1.3.2 from Rocket.Chat (rocketchat✓) installed
Channel latest/stable for rocketchat-server is closed; temporarily forwarding to stable.
server@micronetia:~ $
When that has finished (it takes a while) you can check that it works by going to http://pi.add.re.ss:3000/ and following the instructions to setup an initial user etc.
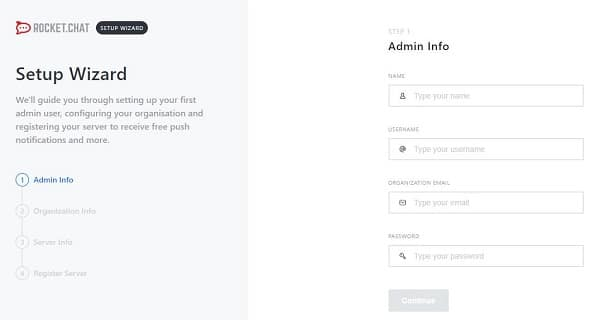
The setup wizard is pretty obvious. One thing to think about is whether you want to have separate administrators or to make certain users also be admins because that affects what you call this admin user.
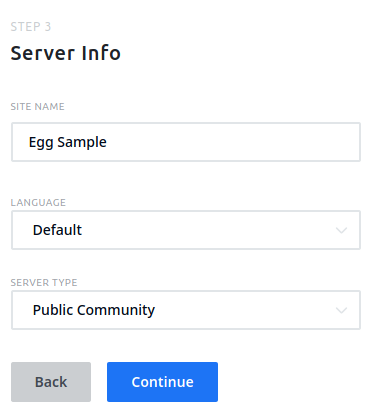
In the next screens the main thing you'll want to do is ensure the server is public (unless you don't want that)
and then decide if you are going to register it with rocket.chat (probably not).
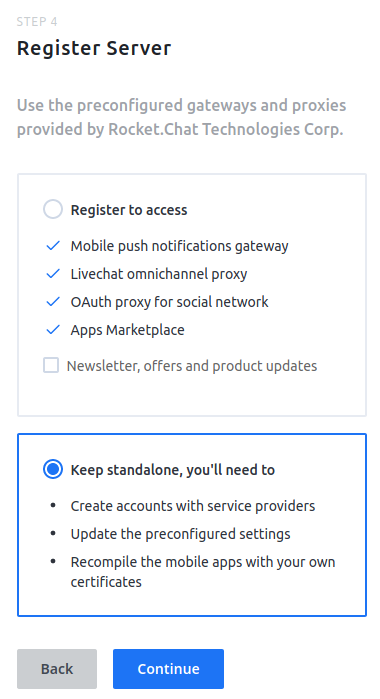
After that you are done with the wizard
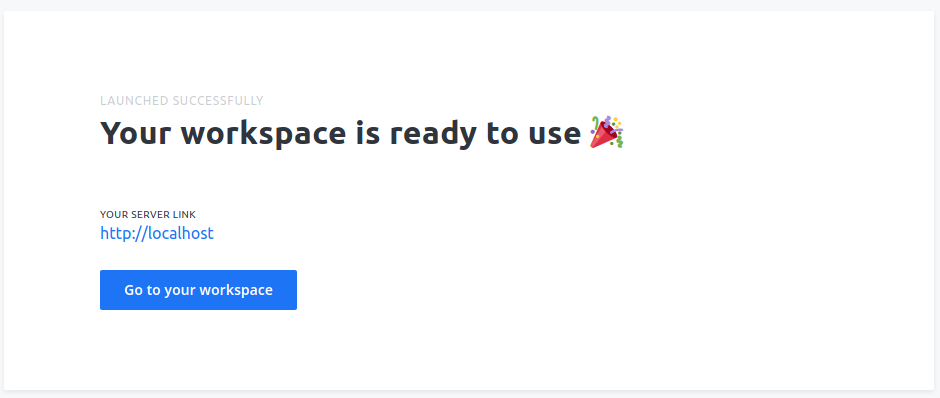
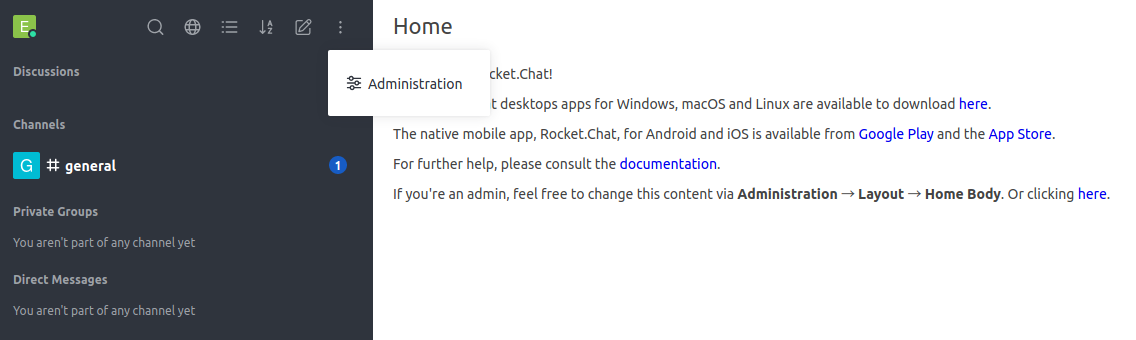
Clicking on the "Go to your workspace" link shows you a basic rocket chat setup with one channel "General" and some hints and tips. To get to more admin sections you need to hover over the vertical dots at the top right of the menu bar
The next step is to make it public.
The next section assumes this is the same server as the micronetia blog server. If it isn't you are going to have to repeat a couple of the steps from that server - specifically you'll need to create a new route and tunnel. If you look at the setupcf.sh script in /usr/local/bin it will probably be fairly clear. If it isn't then contact me and I'll give instructions.
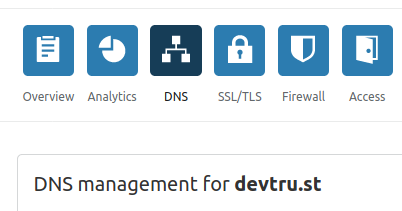
Login to your cloudflare account and click on the DNS tab
In the table below you'll see the record that cloudflared automatically created for your blog. Click edit on that.

You'll see the target is some complicated random looking string. If you click in the box you'll see it ends ".cfargotunnel.com". Select and copy the whole thing. I.e. all of "0f7a.....cfargotunnel.com" in the screenshot
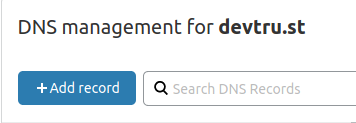
Now click on add record at the top
You'll get a form that you should fill in like this
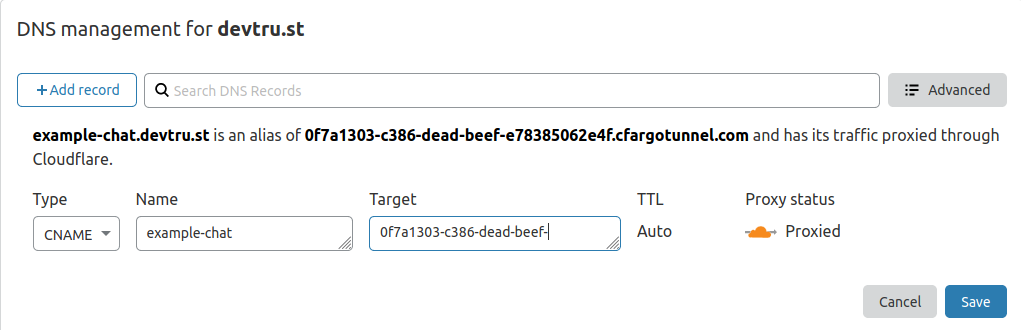
Select the Type first as CNAME. Then choose the name for your rocket chat server (it's going to be name.mydomain.com - in my case example-chat.devtru.st) and finally paste in the text you copied from the blog DNS entry (in the example it is "0f7a.....cfargotunnel.com") and click on Save.
Now go back to the SSH terminal to your server. What we want to do is edit the config.yml file that setupcf.sh created. At some point I'll write this as a script but for now we do this manually (and yes if you are familiar with nano or vi, feel free to use those instead of what I'm doing here). First we check that the file looks correct and that the last two lines are the tunnel and credentials file
server@micronetia:~ $ cat /etc/cloudflared/config.yml
hostname: example.devtru.st
url: http://localhost:2368
tunnel: 0f7a1303-c386-dead-beef-e78385062e4f
credentials-file: /root/.cloudflared/0f7a1303-c386-dead-beef-e78385062e4f.json
server@micronetia:~ $ tail -n 2 /etc/cloudflared/config.yml
tunnel: 0f7a1303-c386-dead-beef-e78385062e4f
credentials-file: /root/.cloudflared/0f7a1303-c386-4159-a865-e78385062e4f.json
server@micronetia:~ $
Now we create a new file in /tmp from those last two lines and then add the word "ingress:" and then two pairs lines. One for the ghost service with the original domain name and a new one for the chat service with the new domain name.
server@micronetia:~ $ tail -n 2 /etc/cloudflared/config.yml >/tmp/config.yml
server@micronetia:~ $ echo "ingress:" >>/tmp/config.yml
server@micronetia:~ $ echo "  - hostname: example.devtru.st"  >>/tmp/config.yml
server@micronetia:~ $ echo "    service: http://localhost:2368"  >>/tmp/config.yml
server@micronetia:~ $ echo "  - hostname: example-chat.devtru.st"  >>/tmp/config.yml
server@micronetia:~ $ echo "    service: http://localhost:3000"  >>/tmp/config.yml
server@micronetia:~ $ echo "  - service: http_status:404"  >>/tmp/config.yml
server@micronetia:~ $
Then check that the new file looks correct. Note the number of indents is important! and run the cloudflared validate command against it
server@micronetia:~ $ cat /tmp/config.yml
tunnel: 0f7a1303-c386-dead-beef-e78385062e4f
credentials-file: /root/.cloudflared/0f7a1303-c386-dead-beef-e78385062e4f.json
ingress:
  - hostname: example.devtru.st
    service: http://localhost:2368
  - hostname: example-chat.devtru.st
    service: http://localhost:3000
  - service: http_status:404
server@micronetia:~ $ cloudflared tunnel --config /tmp/config.yml ingress validate
Validating rules from /tmp/config.yml
OK

server@micronetia:~ $
If you made a mistake then go back and repeat from the command tail -n 2 /etc/cloudflared/config.yml >/tmp/config.yml
If it's OK then we can backup the existing .yml file and copy the new one in. Note I do a couple of ls commands to make sure it's what it should be
server@micronetia:~ $ cd /etc/cloudflared/
server@micronetia:/etc/cloudflared $ sudo mv config.yml config.yml.org
server@micronetia:/etc/cloudflared $ sudo mv /tmp/config.yml config.yml
server@micronetia:/etc/cloudflared $ ls -l
total 8
-rw-r--r-- 1 server server 301 Feb  1 08:58 config.yml
-rw-r--r-- 1 root   root   179 Feb  1 02:37 config.yml.org
server@micronetia:/etc/cloudflared $ sudo chown root:root config.yml
server@micronetia:/etc/cloudflared $ sudo cp config.yml /root/.cloudflared/
server@micronetia:/etc/cloudflared $ sudo ls -l /root/.cloudflared/
total 12
-rw------- 1 root root  191 Feb  1 02:35 0f7a1303-c386-dead-beef-e78385062e4f.json
-rw------- 1 root root 1926 Feb  1 02:35 cert.pem
-rw-r--r-- 1 root root  301 Feb  1 09:03 config.yml
server@micronetia:/etc/cloudflared $
Finally we can restart the cloudflared service and check that it is happy
server@micronetia:/etc/cloudflared $ sudo service cloudflared restart
server@micronetia:/etc/cloudflared $ sudo service cloudflared status
● cloudflared.service - Argo Tunnel
Loaded: loaded (/etc/systemd/system/cloudflared.service; enabled; vendor pres
Active: active (running) since Mon 2021-02-01 09:04:14 GMT; 31s ago
Main PID: 9586 (cloudflared)
Tasks: 10 (limit: 2063)
CGroup: /system.slice/cloudflared.service
└─9586 /usr/local/bin/cloudflared --config /etc/cloudflared/config.ym
Feb 01 09:04:11 micronetia cloudflared[9586]: 9:04AM INF GOOS: linux, GOVersion:
Feb 01 09:04:11 micronetia cloudflared[9586]: 9:04AM INF Settings: map[config:/r
Feb 01 09:04:11 micronetia cloudflared[9586]: 9:04AM INF Autoupdate frequency is
Feb 01 09:04:11 micronetia cloudflared[9586]: 9:04AM INF Initial protocol h2mux
Feb 01 09:04:11 micronetia cloudflared[9586]: 9:04AM INF Starting metrics server
Feb 01 09:04:14 micronetia cloudflared[9586]: 9:04AM INF Connection 3eadcd87-820
Feb 01 09:04:14 micronetia systemd[1]: Started Argo Tunnel.
Feb 01 09:04:15 micronetia cloudflared[9586]: 9:04AM INF Connection c331d69f-28e
Feb 01 09:04:17 micronetia cloudflared[9586]: 9:04AM INF Connection 18d2ab8f-82d
Feb 01 09:04:17 micronetia cloudflared[9586]: 9:04AM INF Connection 86155d13-2f2
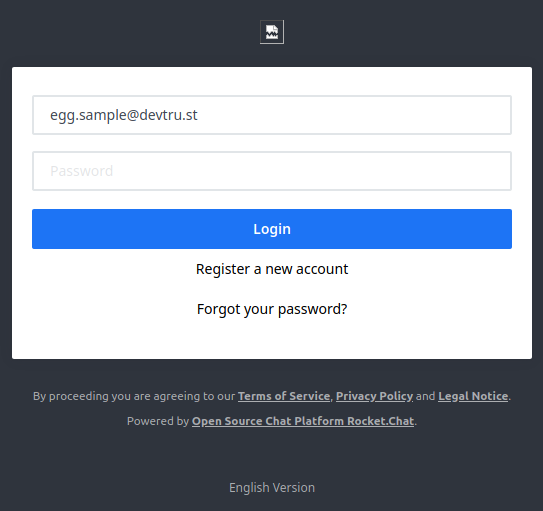
server@micronetia:/etc/cloudflared $Now in your browser test that both the original ghost blog and the new chat servers can be loaded (https://example.devtru.st and https://example-chat.devtru.st in this example). Assuming the latter loaded correctly (it may take some time the first time because cloudflare will be loading it from your pi and that can be slow) you can now log in using the email etc. you created when you were accessing it locally
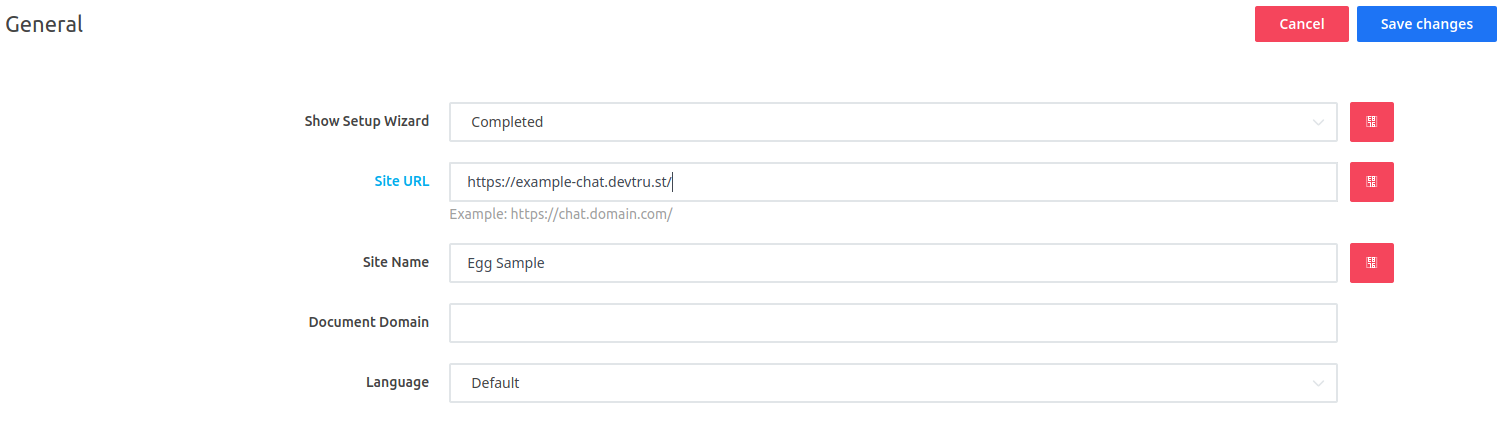
Useful things to customize in the admin pages are the site url in the General tab (change it from localhost to your real url)
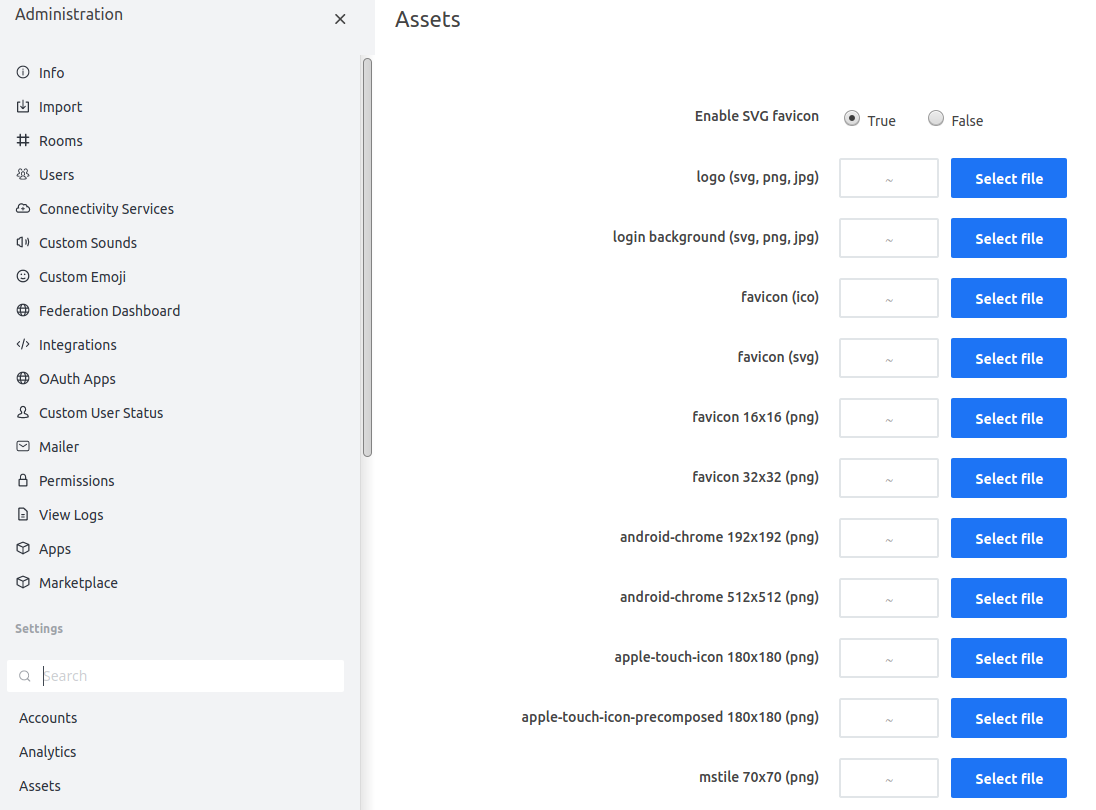
Add relevant the images in the Assets tab
Finally you may want to limit everyone from signing up by editing the Registration section in the Accounts tab

I also recommend figuring out how to send email though so you can have people reset passwords and so on. That requires you to have an account with someone like elastic email or moon mail and then adding the appropriate details to the Email/SMTP section
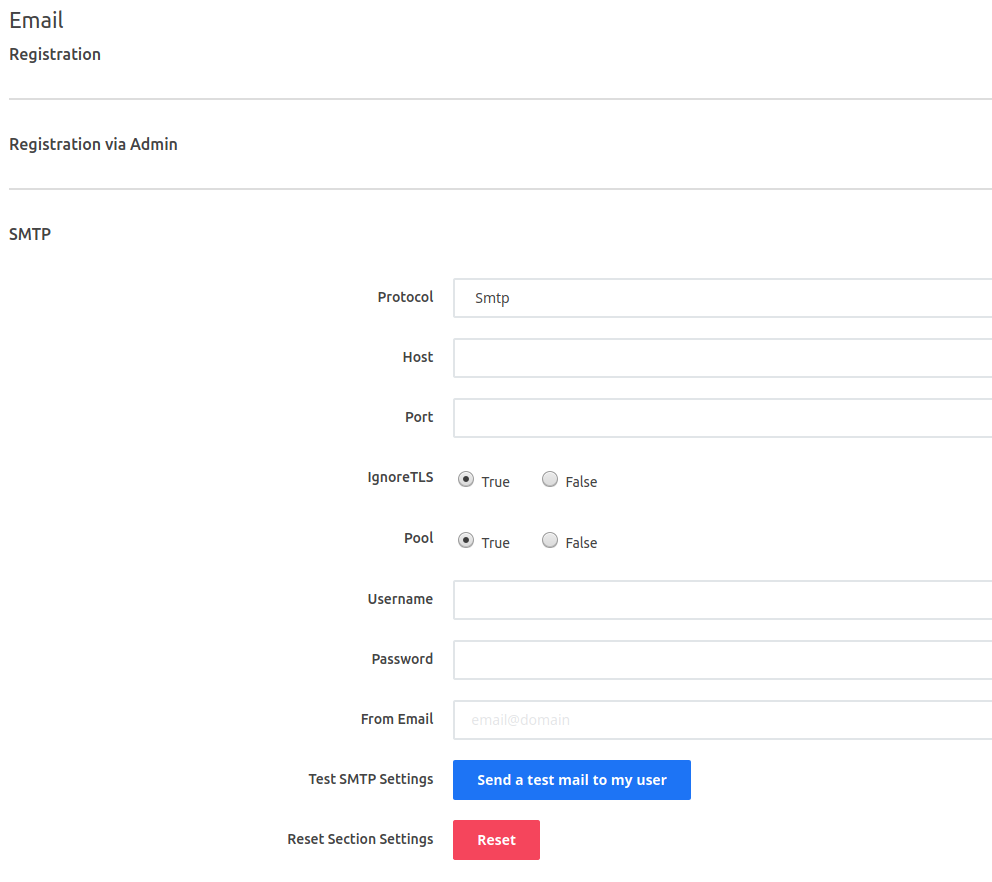
Setting up the email forwarder is far beyond the scope of this document because to get it working you'll need to get the magic incantations about SPF and DKIM and the like right and that's very dependent on your mail provider.